Using the Safe Exam Browser, you can set up assessments so that students view the assessment questions on their own devices and submit answers by typing into submission boxes, by writing on paper and submitting it for automarking via the image uploader QR code, or by writing on paper for manual marking later.
Note: The SEB is designed to enable more secure, easier-to-administer in-class assessments and is not intended for remote invigilation. Use of SEB does not secure the students’ physical environment.
This guide will walk you through the steps to assign assessments while Safe Exam Browser is enabled.
What to Expect with SEB
When SEB is enabled for a Revision Village assessment:
- Students are locked into the exam – they cannot switch to other apps, tabs, or access their desktop without exiting the assessment
- All prohibited applications will have to be closed. This includes browsers, messaging applications, etc. Students should ensure any work in progress is saved before proceeding.
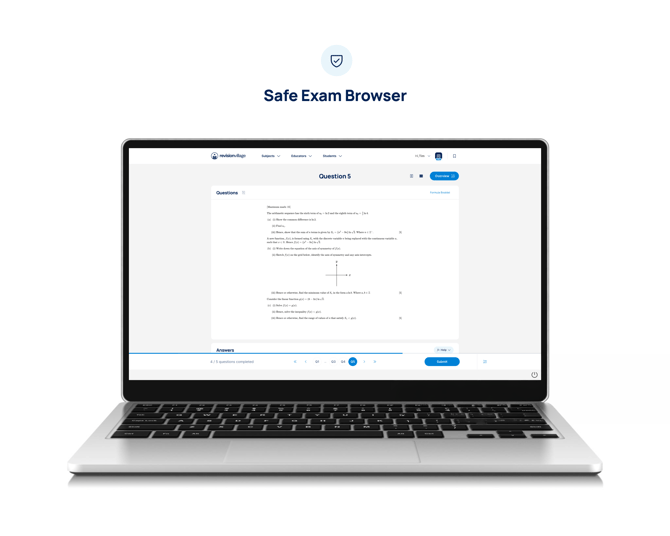
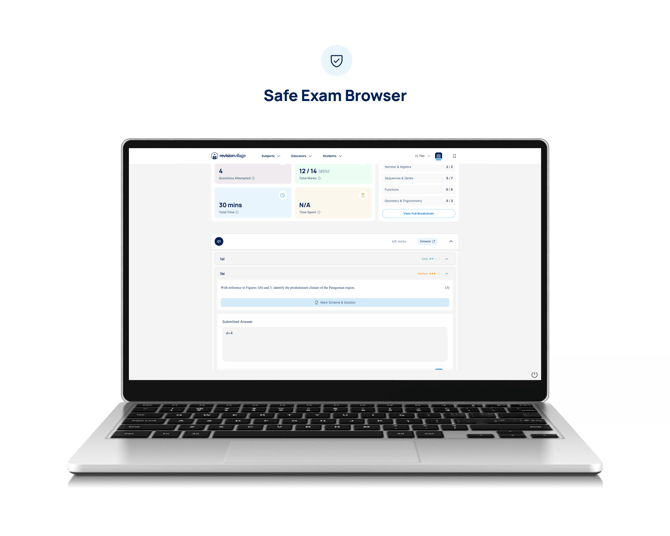
- Navigation is restricted – only the exam content is visible, along with any student tools chosen (e.g., a formula booklet). Course navigation, profile links, and logout options are hidden.
- Printing and right-click are disabled – students cannot print or access context menus.
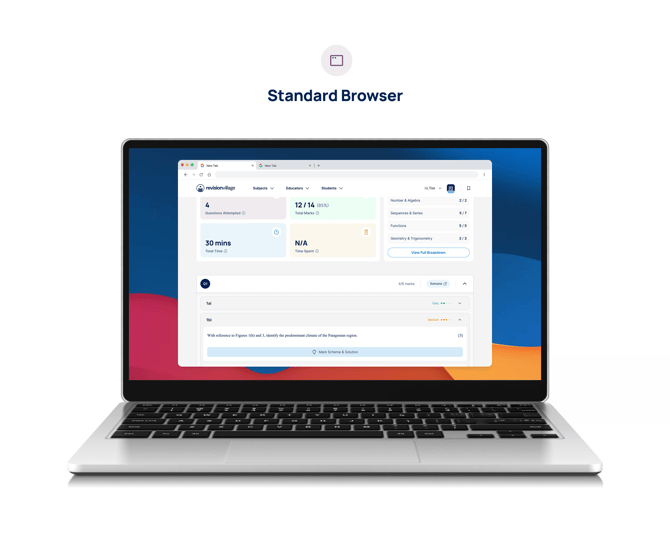
The images below highlight how a student's experience differs when taking assessments in a standard browser compared to using a Safe Exam Browser (SEB).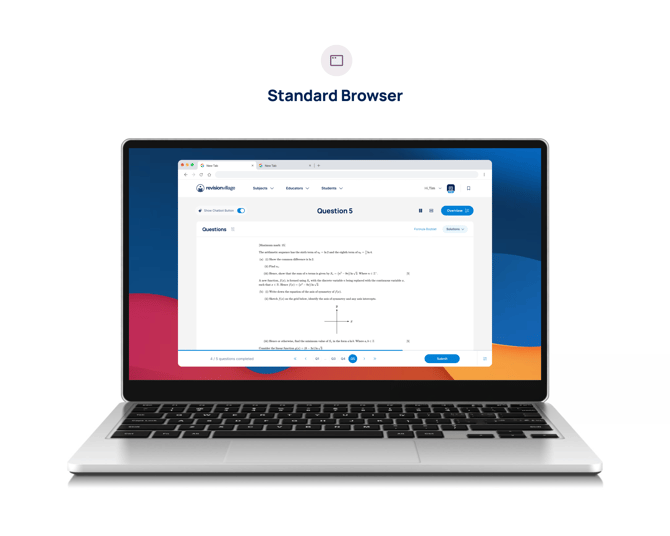
Setting Up SEB for Your Exam
Step 1: Create Your Assessment in Revision Village
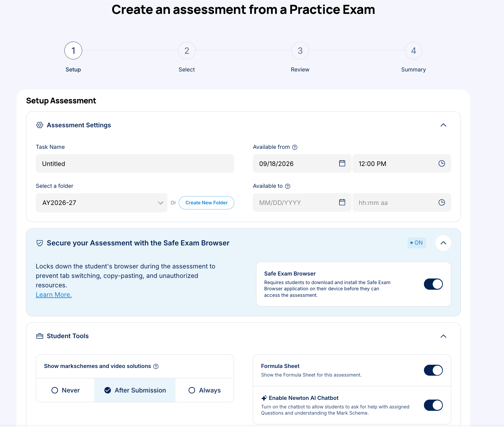
- When creating your assessment, toggle the SEB functionality on your Setup Assessment page
- When SEB is enabled, under Student Tools, the “Show markschemes and video solutions” functionality will automatically be set to “After Submission”, but can be changed based on your preference
- Create your assessment in the same way as usual (see here and here) for your students
Step 2: Ensure students have downloaded and installed the Safe Exam Browser
- Download and install the SEB application on students’ devices before the assessment day, or share this link with your students before the assessment begins. This link is also visible on the assessment launch.
Step 3: Share assessment with students
- Share the unique assessment link with students on exam day or assign it to your allocated class
FAQs
1. What does SEB do for my assessments?
SEB creates a secure, locked-down exam environment for Revision Village assessments. It prevents students from accessing unauthorized resources by locking them into the exam - they cannot switch to other apps, tabs, or access their desktop without exiting the assessment. Navigation is restricted to only the exam content and any student tools you've chosen (e.g., a formula booklet), while course navigation, profile links, and logout options are hidden. Printing and right-clicking are also disabled.
2. Is the SEB meant for remote invigilation?
No. SEB is designed to allow for more secure, easier-to-administer in-class assessments and is not meant for remote invigilation. Use of SEB does not secure the students' physical environment.
3. How do I enable SEB when creating an assessment?
When creating your assessment, toggle the SEB functionality on your Setup Assessment page. When SEB is enabled, under Student Tools, the "Show markschemes and video solutions" functionality will automatically be set to "After Submission," but you can change this based on your preference. Then create your assessment in the same way as usual for your students.
4. How do students submit their answers when SEB is enabled?
Students can view the assessment questions on their own devices and submit answers in several ways: by typing into submission boxes, by writing on paper and submitting it for automarking via the image uploader QR code, or by writing on paper for manual marking later.
5. What do I need to do before the assessment day?
Ensure students have downloaded and installed the SEB application on their devices before the assessment day, or share the installation link with your students before the assessment begins (this link is also visible on the assessment launch). Then, on exam day, share the unique assessment link with students or assign it to your allocated class.